Disclaimer: For explaination on Tag Plugin
and Scripts
in Hexo, you may take a look of this post.
Plugin
Be Careful! Don’t mix Plugin
, Tag
, and Tag Plugin
in Hexo, even though they look extremely similar.
Usually, Plugin
are for complicated functions. Yet if you want to publish your custom Tag Plugin
to the NPM registry or even shown on the Hexo Community Page, Plugin
would be a very good choice.
From Script to Plugin
Assume you already have a script call index.js
, and you want to turn it into package, you may do the following:
Navigate node_modules
folder in your project folder. This is the folder where Hexo stored all the packages for your blog. Create a folder inside and the name must begin with hexo-
or Hexo will ignore it.
Your folder must contain at least two files: the actual JavaScript code and package.json
file that describes the purpose of the plugin and sets its dependencies.
.
├── index.js
└── package.json
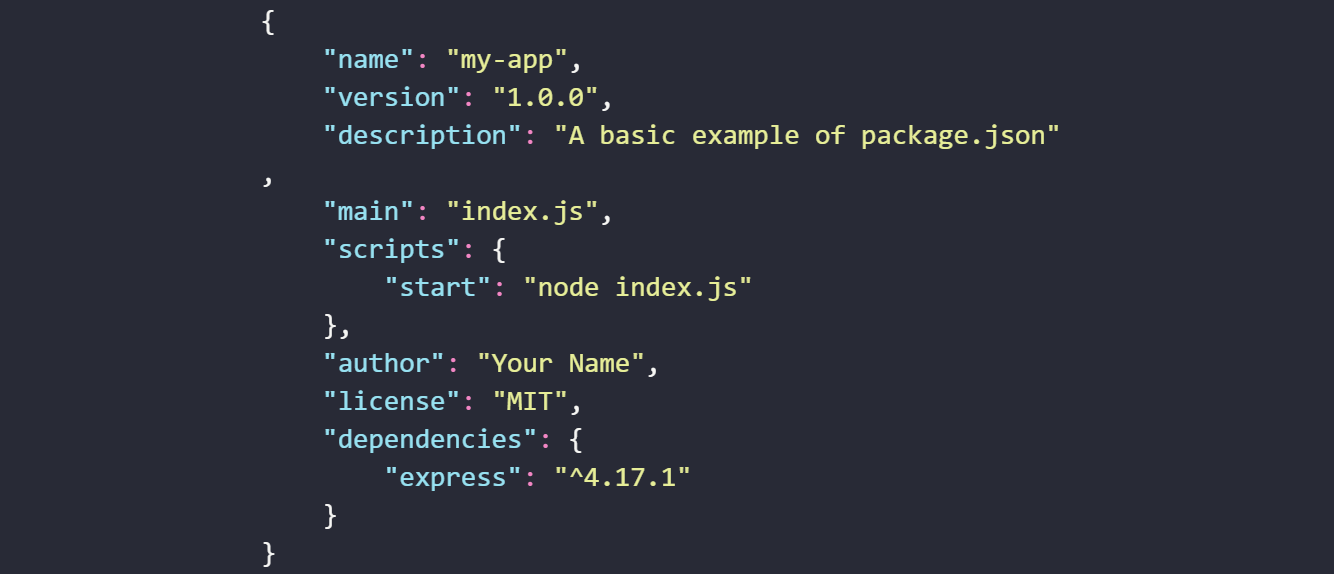
In package.json
, it should at least have the name
, version
and main
entries set.
{
"name": "hexo-my-plugin",
"version": "0.0.1",
"main": "index"
}
In the root package.json
of your hexo project, you also need to list your plugin
as a dependency
, for Hexo to detect and load it.
Please remember that if your package contain other dependencies, also install and list them for testing and dubugging.
{
"name": "hexo-site",
"version": "0.0.0",
"private": true,
"scripts": {
"build": "hexo generate",
"clean": "hexo clean",
"deploy": "hexo deploy",
"server": "hexo server"
},
"hexo": {
"version": ""
},
"dependencies": {
"hexo": "^7.3.0",
...
"hexo-my-plugin": "0.0.1",
"my-plugin-dependency1": "2.0.0",
"my-plugin-dependency2": "2.0.0"
}
}
If you run command that check all the package after step 4, for exmaple hexo clean
, it will check all the packages in node_modules
and remove packages that are not publish on npm.
Publish Plugin to npm
To publish your package on the NPM registry, don’t forget you have to setup your account on npm first.